Boss & Elite Threat Guide
Threat tier, tags, summary and counter tips for every Slay the Spire 2 boss and elite. Filter by act or type, sort by threat or HP.

379 HP wall. Punishes decks that need many turns to ramp. A typical wipe-cause for Defect/Silent if their scaling hasn't come online by Act 2.
- Make sure your scaler is ready before entering Act 2 — burst characters (Ironclad, Necrobinder) handle this better
- Stack Vulnerable hard — its HP pool only falls in a reasonable number of turns with the 50% modifier
- Don't conserve potions — Fire Potion / Strength Potion saved for boss exist for fights like this

321 HP Act 2 boss that grows the longer the fight runs. Race condition — you win if you can out-DPS the scaling, lose if you stall.
- Plan to end this in single-digit turns; long sustain builds struggle
- Concentrate Vulnerable + Strength burst turns; don't spread damage thinly
- Power-heavy decks should play their setup BEFORE this fight (Limit Break, Demon Form pre-buffs)

300 HP Act 3 elite. The most-feared elite of the game — high HP, hard hits. Treat it like a mid-Act 3 boss.
- Re-evaluate the path before this room: can you skip via campfire or unknown? Worth considering
- All scaling cards should be online before engaging — don't try to scale during the fight
- Save Fire Potion / Strength Potion for this; even one big hit shaves a full turn of trade
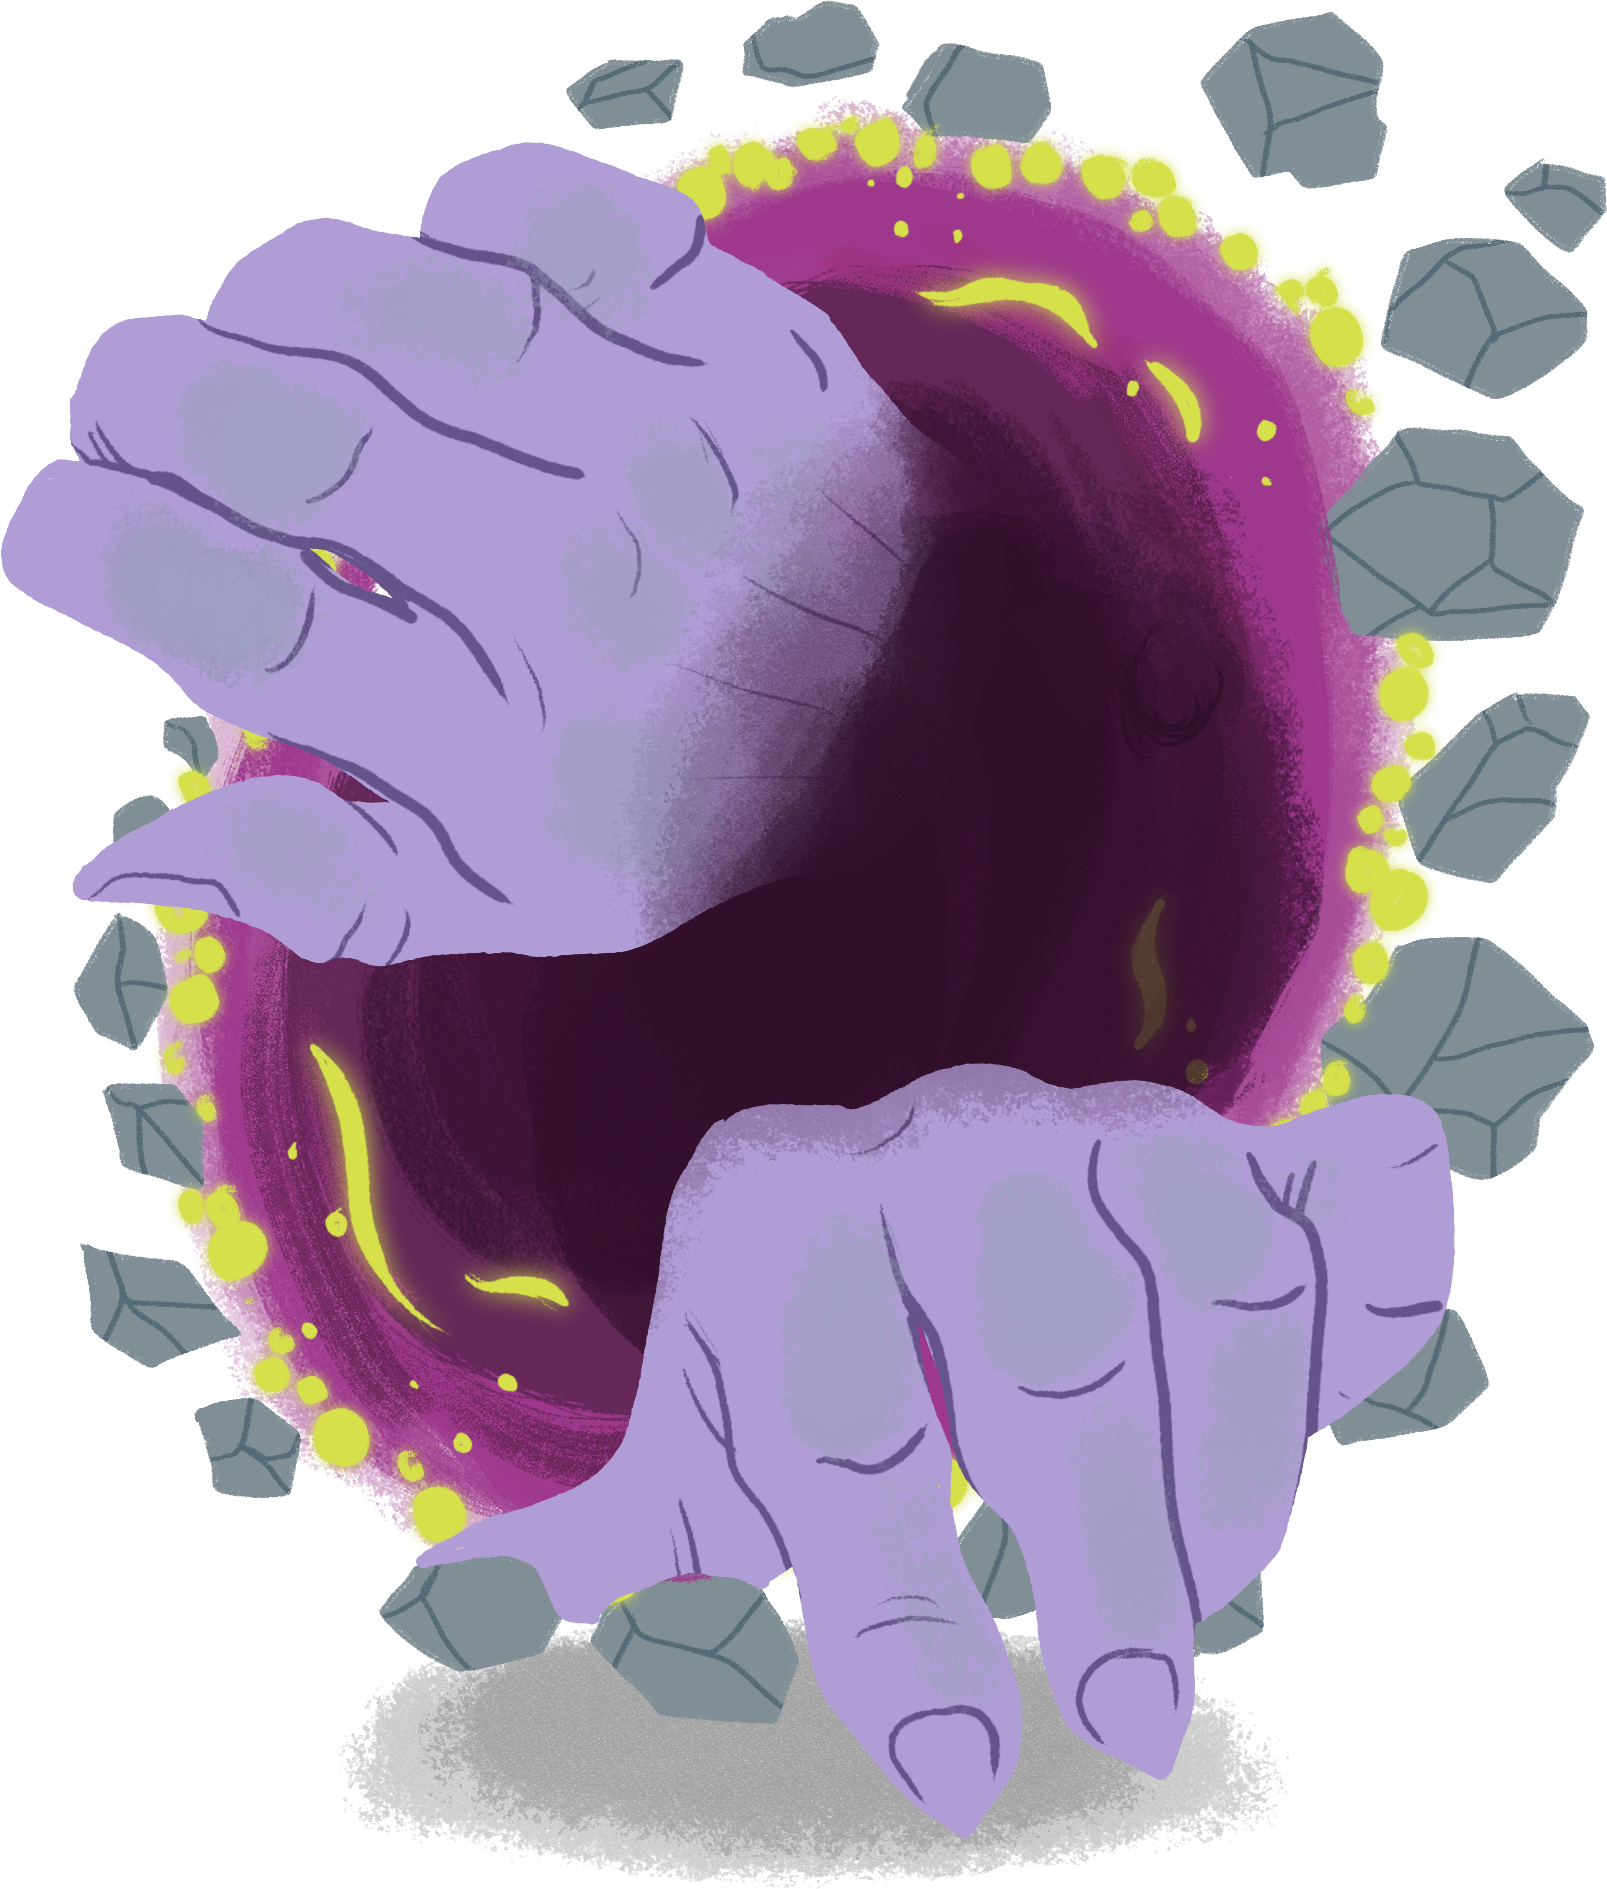
489 HP Act 3 boss — the highest-HP solo fight in the game. Bring scaling, block, and patience. This is where Powers and infinite combos pay off.
- Almost no deck wins this without scaling — Limit Break, Catalyst, Echo Form, Focus stacking are all valid
- Plan a defensive plateau: enough block to survive a 10+ turn fight without HP attrition
- Save every potion for this fight; even mediocre ones (Strength, Block) shorten the encounter by 1-2 turns

400 HP Act 3 boss that summons minions. AoE answers are mandatory; single-target burst gets overwhelmed.
- Bring at least one AoE answer (Cleave, Whirlwind, Sweeping Beam, Crippling Cloud-style)
- Vulnerable applied to Queen herself is wasted if minions are out — clear adds first OR pick an AoE-Vulnerable like Bouncing Flask-equivalent
- Block as a default — minion damage adds up fast even when each hit is small
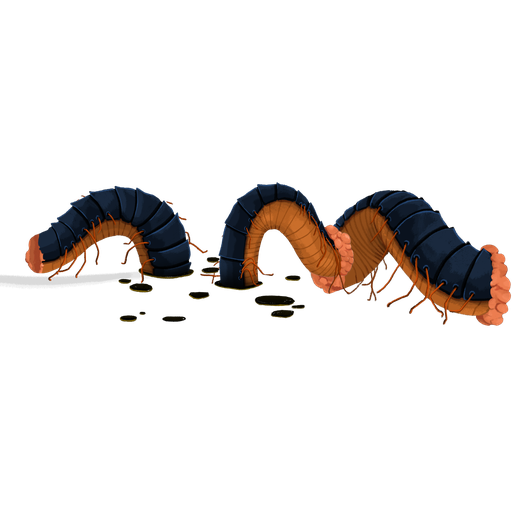
Multi-segment elite with Front/Middle/Back parts. Each segment has separate HP — the priority order matters because damage cleared on a segment doesn't carry to the next.
- AoE decks shred this; single-target decks should kill Front first to disable the most threatening intent
- Don't apply Vulnerable to a segment you can't finish — wasted if it dies mid-turn
- Block defensively when multiple segments are alive — total incoming is higher than it looks

62 HP Act 1 elite. Low HP but applies effects that follow you into future combats. Kill fast to minimise lingering downside.
- Sub-100 HP — burst with Strength Potion if available
- Don't take this elite on low HP — its debuffs compound with future status pollution
- Exhaust effects (Feed, Dark Embrace) help clear lingering debuff cards if added
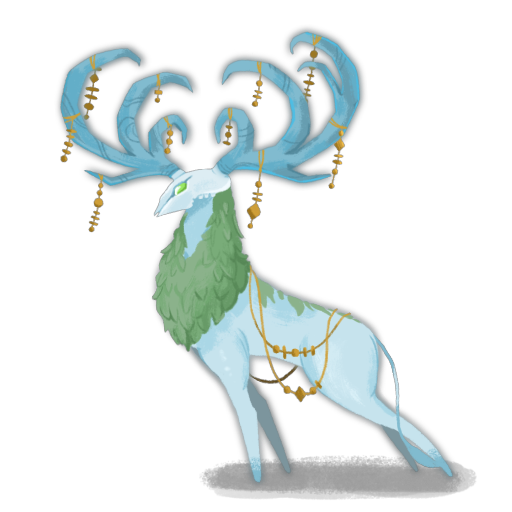
A 252-HP Act 1 wall that buffs itself and punishes slow openers. Skips fights where you can't apply pressure on turn 1 are rare — bring damage, not durability.
- Open with Vulnerable (Bash / Sucker Punch) — its high HP makes %-modifier debuffs the highest-value play
- Don't bank block for the wind-up turns; spend energy on damage and accept some chip damage
- If you have AoE attacks, save them for when the beast applies vulnerable/buff to itself — don't waste them on filler turns

190 HP Act 1 boss that supports allies and ramps if you don't put it on the clock. Damage > defense — kill it before its buff/support engine outscales you.
- Burst-down builds (Strength stacks, Catalyst poison) thrive here
- If you can't one-shot, apply Weak each turn to soften its outgoing damage while you grind it down
- Don't let it reach a setup turn unanswered — even a 1-energy attack beats a fully blocked turn

173 HP Act 1 boss. Dismember adds Statuses to your deck; Inky Lance is a multi-hit burst. The longer the fight runs the more clogged your hand gets.
- End the fight fast — every turn extra means more Status cards next combat
- Defect's orbs and Silent's poison ignore Status pollution best; Ironclad scales fine but takes deck damage
- Block the multi-hit Inky Lance turn first; Ink Blot can chip through

145 HP Act 2 elite that summons. Letting the swarm grow is the standard failure mode. Pressure the Entomancer or the adds — pick one — and commit.
- If you have AoE, clear adds first; the Entomancer is glass without its swarm
- If you don't have AoE, pour single-target damage into the Entomancer to end the summoning loop
- Weak applied to the Entomancer reduces stacked add damage by extension

200 HP Act 2 elite. The prism shifts its weak side / vulnerability — read the intent every turn and pivot damage accordingly.
- Don't lock in a target before seeing the intent each turn
- Frozen Eye / orb-knowledge effects help by reducing the read-and-react cost
- Holds value with cards that can be retained or replayed — flexibility beats commitment
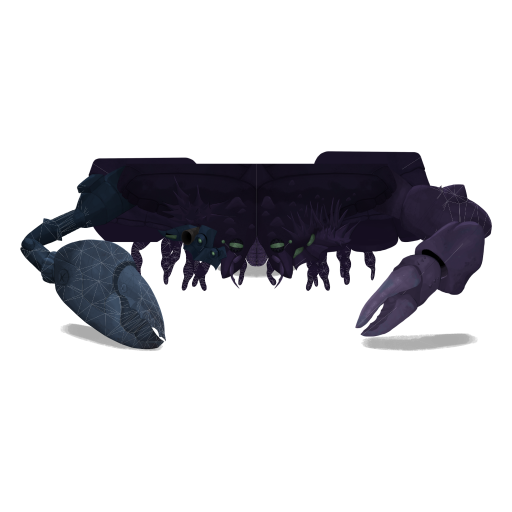
Act 2 boss built around one massive attack telegraph. Survives long enough to threaten you twice. Block timing > damage.
- Don't trade HP — block the telegraphed big hit fully, or it can put you in 1-shot range
- Weak halves the big hit's effective damage; Bag of Marbles Vulnerable doubles your return swings
- Power decks (Demon Form, Echo Form) shine because the fight is long enough to scale
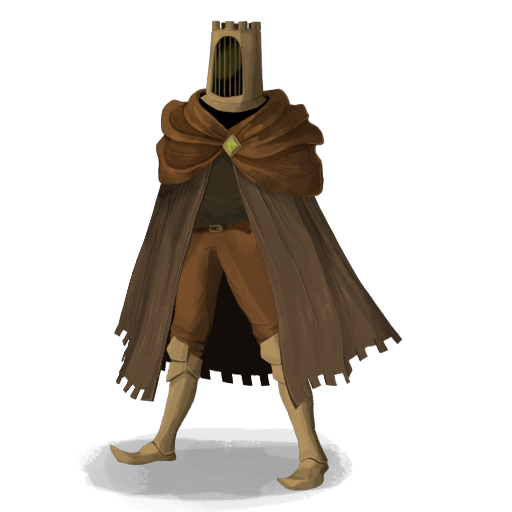
82 HP Act 3 elite. Glass cannon but its debuff package disrupts scaling decks. Power-heavy decks especially want to end this fast.
- Burn turn-1 burst on this — Strength Potion / Fire Potion warranted if it's stable elsewhere
- Defect / Silent: ramp decks should pre-stack before this elite if possible
- Don't waste a Vulnerable application — Magi Knight dies fast enough that the modifier rarely matters
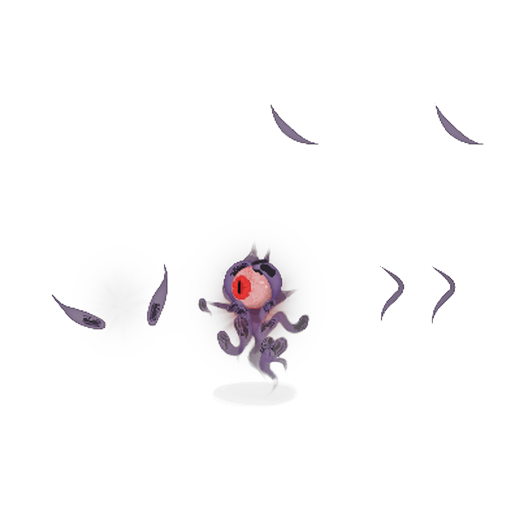
234 HP Act 3 elite with spirit / soul mechanics. Long enough to fight that scaling decks pay off, short enough that burst still works.
- Both Strength burst and Power scaling decks handle this — play your archetype
- Apply Weak to mitigate the bigger telegraph turns
- Save Necrobinder sacrifice plays for this fight if you've been hoarding HP

140 HP Act 3 elite. Hits hard and applies stacking debuffs. Block carefully, kill efficiently.
- Block the highest-damage telegraph fully — partial block is wasted against the spike turns
- Apply Weak before its big-hit turn; doubling block efficiency wins the trade
- Burst decks should pre-stack Strength / Focus before engaging

222 HP Act 3 boss that opens with armor and ramps debuffs. Lose HP early if you don't break the opening shell.
- Don't try to chip through metallicize-style armor with 1-damage hits; group damage into single big strikes
- Apply Weak the turn before its big debuff lands — reduces stacked effects
- Defect with Lightning + Focus and Necrobinder bursting through sacrifice both punish the armor phase

199 HP Act 3 boss. Punishes decks without consistent block — sustained chip damage that stacks if ignored.
- Block floor is critical; don't end turns at 0 block here
- Weak halves outgoing damage which compounds across turns — apply it early and keep refreshing
- Frost orbs / Defensive Stance / Entrench all shine in this fight

250 HP Act 3 boss. Long fight with periodic big hits. Endurance build wins; glass cannons get punished by the long-game damage tax.
- Build for ~10 turns of block — power scaling that ramps over time outperforms one-shot setups
- Bash / Dazed-style decks that need many turns to ramp finally pay off here
- Don't keep Strength potions for after — use them mid-fight to skip a wind-up turn
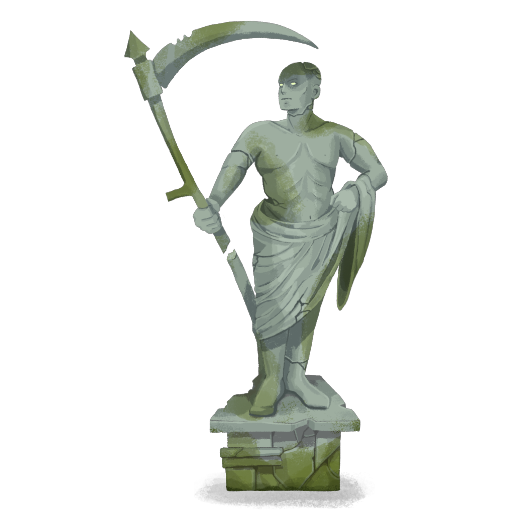
127 HP Act 1 elite that frequently blocks. Damage timing matters more than raw output — hit when its block is down.
- Save big attack turns for non-block intents
- Multi-hit attacks (Twin Strike, Pommel Strike) less efficient than single big hits here
- Don't waste Vulnerable on a turn it intends to block

~92 HP Act 1 elite. Glass-cannon profile: hits hard for low HP. Win the trade race.
- Burst it down in 2-3 turns to avoid extended damage trades
- Bash + Strike combos finish this efficiently
- Don't over-block — its damage doesn't justify trading two attack turns for a block turn

Back segment of the Decimillipede. Often performs support / buff actions — kill if you have AoE, otherwise focus on Front first.

Front segment of the Decimillipede. See 'Decimillipede' for the overall fight plan; this segment is usually the highest-damage target.

Middle segment of the Decimillipede. Generally lower priority — kill front then back, leave middle for last.
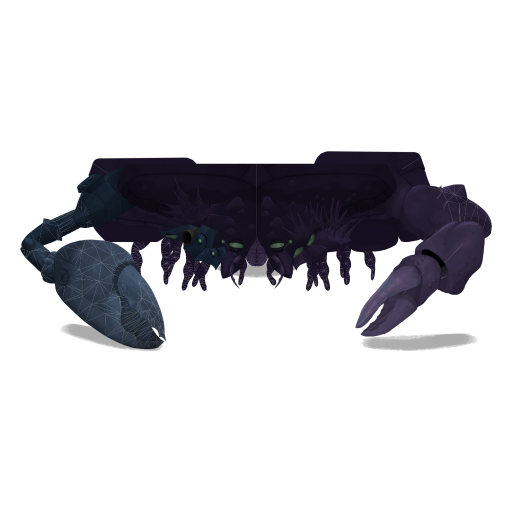
189 HP Act 2 boss with a clear wind-up → release cycle. More forgiving than other Act 2 bosses because intents are readable.
- Save big block turns for the release; spend damage on wind-up turns
- Defect Frost / Ironclad Entrench reward turns you don't need to attack — perfect tempo fit
- If you have Apparitions / intangible: use one on the release turn
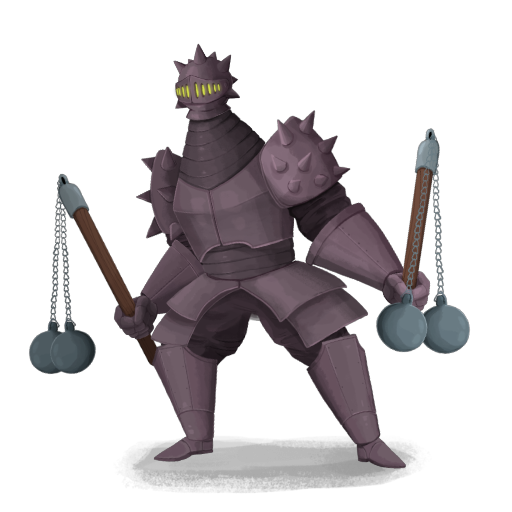
~101 HP Act 3 elite. AoE knight with consistent damage; not lethal in isolation but in elite trios or with bad RNG it can be the elite that pushes you below safe HP.
- Standard block-and-trade; no special tech needed
- Save potions for boss — Flail Knight should be a clean elite for most decks by Act 3
- Apply Weak if you have it cheap — reduces the AoE chip damage
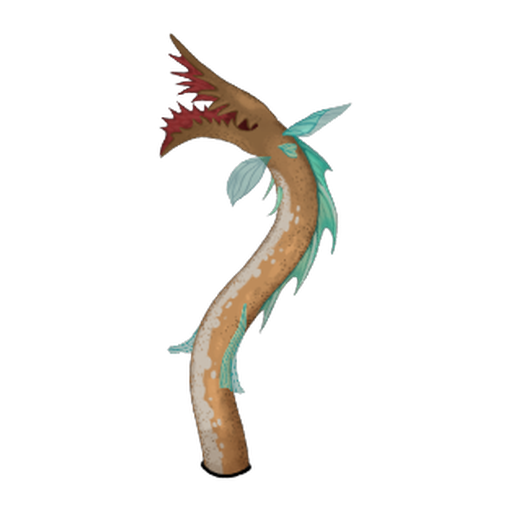
~30 HP Act 3 elite. Low HP but its plant / minion summons create the actual threat. Kill it before the garden grows.
- Single-target focus the Gardener — adds vanish or weaken with the source gone
- AoE answers easy; without AoE, ignore plants and burst the Gardener
- Don't over-block — fight is short if executed cleanly
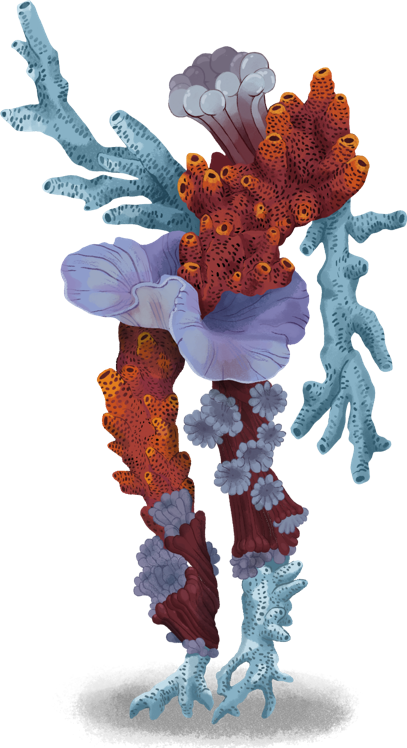
79 HP Act 3 elite that operates as a swarm. AoE damage is mandatory or strongly preferred.
- Bring AoE: Cleave, Whirlwind, Defect Lightning, Sweeping Beam-equivalents
- Frost orb block scales well against the chip damage
- Pure single-target decks should consider re-routing the path

93 HP Act 3 elite. Mid-tier threat — kills slow decks, but any deck with a real burst plan handles this.
- Treat as a 2-turn fight — design your block / attack split accordingly
- Ironclad Strength scaling, Silent Catalyst, Defect Lightning all clear cleanly
- Don't burn potions here — save for Mecha Knight or boss
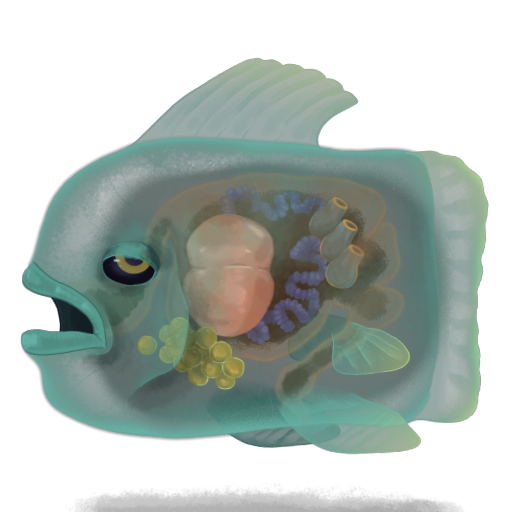
211 HP Act 3 boss. More tempo-based than HP-based — feels easier than the wall bosses but punishes hesitation.
- Commit damage early — banked block does nothing here, banked Strength scales
- Silent's poison ramps perfectly against this length of fight
- Don't over-block — spending energy on attacks every turn is the optimal line

Test Subject's HP scales by the encounter — treat as a moderate Act 3 challenge with unpredictable variance.
- Have answers for both burst and grind — flexible decks handle this better than one-trick scaling
- Don't burn key potions here unless you're already in low HP
- Trade HP only if your deck has heal/lifesteal effects

Low-HP companion to Kin Priest. By itself trivial; in a pair fight it forces target priority decisions. Kill before tackling Priest unless your AoE can clear both.
- Single-target characters: prioritise Follower first, then pivot to Priest
- AoE decks (Cleave, Whirlwind, Defect Lightning): just dump into the group
- Don't waste a Vulnerable application on Follower — save Bash for the Priest

Act 3 'minion' / puzzle phase fight. Low standalone HP but exists as a phase mechanic. Treat as a stepping stone.
- Don't burn cooldowns / single-use cards on this phase
- Save burst damage for whatever comes after
- Block enough to not enter the next phase wounded
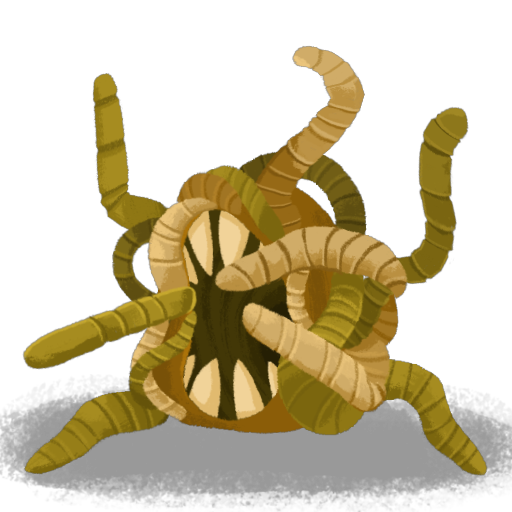
~19 HP filler. Treat as cleanup; AoE clears these for free.
- Don't spend a real damage card on these; off-energy attacks suffice
- Defect's basic Zap and Silent's Shivs handle these efficiently